Maker Spacer lets go Racer below is my video I made of me with all of my bottles and a chopstick to make some tunes! I had a few bit of difficulty through this in my filming, I may have held the microphone a bit too close to the camera so my ‘Construction of the Instrument’ footage became a little … unpleasant … to listen to HOWEVER I present to you the Rainbow Bottle Bells:
TogsTech
Part 7 – Togs the Builder
THE MAKER MOVEMENT
We’ve spent some time this week talking about making instruments for ourselves out of rubbish found in our recycling bins at home! Lucky for me, during this Covid-19 lockdown situation, I had the fortunate opportunity to have plenty of bits and pieces for me to sift through to tinker with this. BUT FIRST
We spoke to Phil Nanlohy, a music teacher in Sydney whose purpose at the school he teaches at is to run a ‘Maker Space’, an area where students can come into and improve creative, motor and physical skills to create a small item over the course of a term. He spoke about making fans that create very small electrical currents when you blow into them, and even small xylophones for the students to play with.
PERKS AND PUNISHMENTS
As awesome as this idea is however, it has some flaws to this perfect idea, which Phil effectively discussed with us about!
Money and Resources:
- Having the money to run a program such as this can be quite difficult if you don’t use it the right way. Phil spoke to us about finding recycled materials, offcuts, rubbish, finding leftovers from council cleanups etc.
- By doing it in this process, you can save tons of money compared to buying wood from Bunnings and most other materials that can be used.
Space:
- It can be difficult to locate a spare room or some space in a school to run a program such as this. Phil spoke about how his school has its own space, although most school this is a dream.
- However, it’s possible! Have a classroom which shares with another area and use the sides of the room to put tables and gear along to make it work instead! Its a super fun and creative way to engage students
TogsTeach
This gives students TONS of epic creative ways to make music from small bit of trash. Later this week I’ll put up another ‘TogsTest’ post where I go through and show you an instrument I’m going to make right from my recycling bin. Stay tuned for that!
TogsTech
Part 6 – 01001100 01100101 01100001 01110010 01101110 01101001 01101110 01100111 00100000 01110100 01101111 00100000 01100011 01101111 01100100 01100101 00100001
Welcome Back Everyone, I hope you all enjoyed the videos I’ve created over the last couple weeks and found the couple minutes of it entertaining. I’d like to mention I heard back from my lecturer, James Humberstone, with a short video of him and his son after watching the film about Aural Chess and with a video of them singing and playing around with a cello to try to get it to work! It’s quite a funny little video HOWEVER it’s time to get onto this weeks BLOG:
CODING
We spent some time this week learning how to CODE like a programmer. We had a guest lecturer Rowena Stewart come in and teach us how to use Sonic Pi to make music in a different way! This process was pretty complex and took a lot of time to understand, and a very tricky process of typing HOWEVER I managed to get the little recording down below done in about 10mins.
This recording is built up by inputting notes to ‘play’ and then typing in the notes, although you can also input frequencies or numerical values. You then need to have ‘sleep’ in between each input in order to stop all the sounds just playing simultaneously. By changing the numerical length of the sleep, it allows you to change the amount of time between each note, as you can see in the recording where I have a small quaver run.
I really enjoyed this kind of experimentation with music. It took quite a bit of time testing and making adjustments to make it work, eventually creating a simple, interesting little melody.
TOGSTEACH
Using this in a classroom? Good luck! I’d be surprised if a classroom situation could use this form of notation effectively. A class full of university students have about a 50/50 success rate … I couldn’t imagine the slow process some studentsd would go through to make a simple melody
HOWEVER I think if you have a bright, techie class, or a school heavily invested in coding this would be an AWESOME to resource to use. Having your students engaging in music through writing notes, or numbers is an excellent way to communicate cross curricular activities such as IT and mathematics into your music program.
TogsTest
So in the previous blog I made, I spent some time outlining all of the important aspects to acknowledge when it comes to presenting a video using some of those features. Below I have attached a video of myself which I edited where I discuss my various different ‘funky socks’:
And the reason this blog is a week late is after last weeks clas I made this video as a joke tutorial playing around with the idea of what if the AppleMac ‘Chess’ app could be played by using a musical instrument (in my case with the flute). To do this I had to use ‘Screenflow’ free trial to screen record (hence ignore the ‘DEMO’ written across the screen) as well as editing in PremierePro to create the finalo product. Enjoy!
TogsTech
Part 5 – Aaaaannnddd Rolling!
This week we’re going to spend a bit of time working with filming and using video. We’ve now been self-isolating at home and its time to learn how to film ourselves hands-on, but with a bit of difficulty trying to guess what we’re doing.
CAMERAS
NOW its time for us to learn about different types of:
CAMERA ANGLES
When filming, it’s important to know the different types of camera angles that are useful to have when you need to film yourself. Furthermore, always try to have two cameras set up as ‘fixed shots’ (cameras that don’t move/follow you) as well as having a second camera so you have a backup or redundancy shot if a mistake is to occur. These include:
- Wide angle
- The camera from about knee height up and captures your full body
- Close ups
- A camera shot from the waist up! Most common when we get used to filming ourself and an IMPORTANT angle to perfect
- Extreme close ups
- Shoulders up! Really good for capturing someones attention for parts when your the sole speaker HOWEVER it can be a little bit full over extended periods of time
- Newsreader angle
- Neatly frames elbows to top of head. Similar to the close up in that this is common and should be practiced when possible
- Edge of the shot
- When you stand to either side of the screen and not in the centre. Interestingly, different positions you have can create different sensations:
- Facing towards the centre of the camera feels less awkward to the viewer
- Facing away from the centre adds tension due to the distance from behind
- When you stand to either side of the screen and not in the centre. Interestingly, different positions you have can create different sensations:
- Shoulder to top of head
- Ensures people are listening however not to be used too often, more commonly used during more inspirational video styles
CAMERA TYPES
- The important thing regarding using cameras is that you need to acknowledge that the theory of different ones is the same.
- Mirrorless camera
- This type of camera has the ability to shoot in 4K which has both pros and cons:
- CON: it can make editing difficult due to its size making programs work slowly
- PRO: it can however supply you with the opportunity to edit framing mistakes which you have made during filming
- Has the ability to change to different lenses if needed
- This type of camera has the ability to shoot in 4K which has both pros and cons:
LIGHTING
- Lighting is extremely critical in making you look good and interesting in a camera shot. Here is a few of the different tips and tricks:
- Make sure you always light up yourself from in front.
- Lighting from behind makes you look dark and hard to differentiate any physical features
- Lighting from above make your eyes look dark and sunken
- Make sure you always light up yourself from in front.
- If you have to film something without natural light, find other ways to create light boxes and light sources (you could use desk lamps with tissue paper can also do the job)
RECORDING

- Another important element to filming is to be able to record yourself, whether it’s from an instrument or a spoken voice. Below I talk about Zoom Recorders and some tips and tricks with them all
- Zoom Recorder
- Has built in microphones on top
- The angle of the recording is at 120*
- Recording levels show up on the screen for easy adjustments
- Phasing and positioning
- It can be important to ensure you have your microphones placed nicely an evenly to where you’re talking to ensure different volumes and staggered entries don’t occur.
- XY mics are the best way to avoid this
- Zoom Recorder
TogsTeach
Microphone use is extremely important for filming and recording school performances and ensembles. Talk to people who know microphones well and can advise you as to the most appropriate ways of positioning them for certain ensembles to maximise an overall balance of sound
TogsTech
Part 4: The Manucript Music
Welcome to Week 4 of my Music Education Blog where we discuss all kinds of crazy and exciting things that teachers can use in classrooms (or for fun at home). This week we spent quite a bit of time experimenting with many of the different kinds of electronic manuscript softwares that musicians can use to write their music.
MUSESCORE
This is my most commonly used composition software that I have used throughout University and High School. This is due to the fact that it is free AND operates in a very simple way. This week my knowledge also expanded exponentially learning about many more of the keyboard shortcuts that Musescore (and all of the different compositional software we will use today).
For example – Did you know:
- You can press the letters on your keyboard to write the notes? It sounds fairly basic but for some reason I’ve never tried it out before …
- You can also do a similar thing with numbers correlating to note length!!!!
- Musescore also allows you to upload your scores online to share compositions you’ve made with the public! This means that:
- You can have a look at other peoples scores for FREE!!!
- You can put YOUR OWN music out there for your students to use as well
Exporting:
- Export using compressed XML file
- XML files are used as the open universal format that for composers so that you can transfer a score between whatever notation programs you are using
NOTEFLIGHT AND FLAT.IO
I spent some time this week experimenting with some of the cool features of Noteflight while some colleagues used flat.io. I personally found it very similar to Musescore, if not a little bit more clunky and difficult to operate HOWEVER I think with some practice it could be a very useful composition tool
One awesome feature about this is that like Musescore you’re able to upload your scores to an international database to share them, but you can also earn money from better scores you publish on the system. This is a really encouraging way to practice your score writing skills and to share them with the world.
The reason why this previous feature I find so awesome, is because it allows you to take a really awesome arrangement of a piece of music and adapt it, and reshare it to be achievable for students of varying levels. For example if you have a flute quartet where one student is far in front of the others, while another is falling behind a bit, you can adapt your score for these students and then reshare them for future students!
DORICO
I personally found this trailer really awesome! I felt like it effectively encapsulated a heap of different features that other score writing programs fail in, for example, the chord writing through all the parts. Although this is so, I do not compose enough to see the usefulness of this and by having such big names, I feel a bit overwhelmed by the sheer quantity of content the software utilises.
SIBELIUS
Similarly to all of the previous programs, I felt that Sibelius shared the most features across them all but also has the superior sound features, writing ease and options to extend your composition. I find the bar along the top (seen below) can be extremely daunting with so many options which hardly make sense, although for the most part, information and guidance can be easily found on google.

Some helpful tips I learnt:
- You can go from ‘Menu’ → ‘Panels’ → ‘Ideas’ to be provided with several small riffs and loops you can import into your own compositon
- This is really awesome because
- You’re able to save certain riffs or musical ideas you create yourself and add them to expand the panel
- You can go into each of the riffs and break them down further
TogsTips
You’re able to copy portions of a score in Musescore by utilising the camera button at the top of your score to ‘export’ a portion of the score. This process removes the grey background of the screenshot and makes it more aesthetically appealing:


Similarly with Sibelius, you can do a special type of screenshot to capture certain bars using the keyboard shortcut ‘alt+G’ (for graphics), and then picking a certain set of bars to copy, from which you paste it where you’d like it to go!
TogsTech
Part 3: The Online Exploration
Welcome to the Third Part of my journey into music and technology and their growing relationship. This week I spent quite a bit of time watching and listening to some of the leading music and non-music educators, as well as people working in music technology’s, views on the growing perspectives and studies based on the pairing of this couple.
James Humberstone
My lecturer, James, posed some interesting points to my peers and I regarding critical thinking in technologically influenced education and gave some insights as to its usefulness. Some interesting points I took from this were regarding the impacts of which technology has on its students. I had never realised the idea that many of our high school students are gathering most of their critical information from social media. He raises the point that most social media sites have an age restriction of 13+. It is important for us to stay correctly informed and continue to utilise contemporary methods of education for us to properly battle these ideas.
Dimitri Christakis

James pointed me in the direction of a few educators who have spoken at Ted Ex functions to share their perspective on education and its relationship to children’s growth. Christakis poses some interesting points in his video about how the rapid changing of scenes and camera shots at a rapid pace drastically impacts a child’s attention problems, especially in the first three years of life where their brain in creating synapses and their brain is tripling in size.
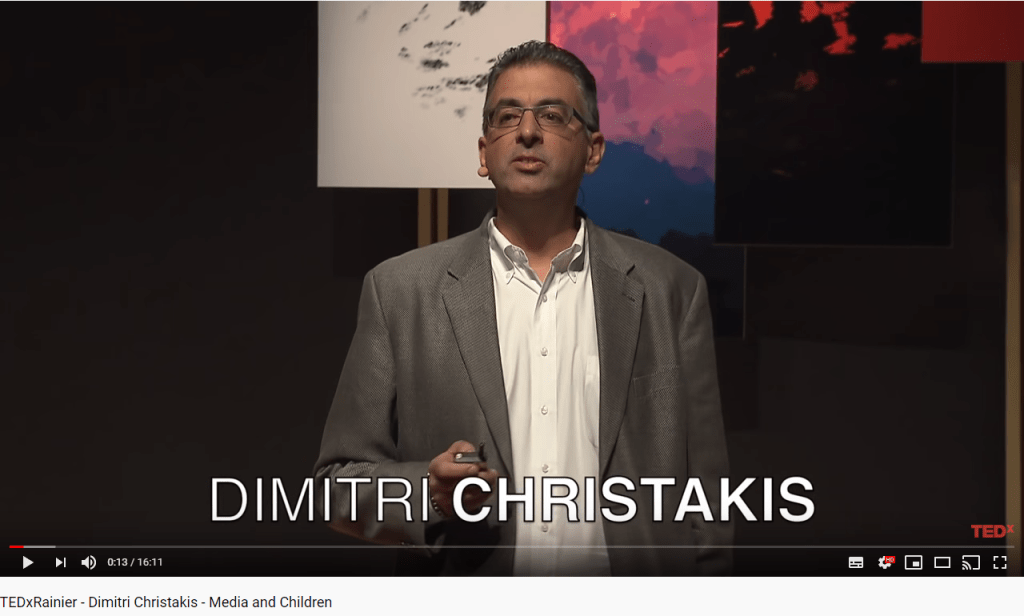
He discusses how these lead to an under stimulated childhood brain and therefore leave with the inability to focus and pay attention. He raises very interesting points and would be really useful to watch if you were fascinated. I did however find that the information struggled to relate to myself as an educator as usually by the time we are dealing with the children, this impact has already been made. He also fails to propose a solution other than essentially going back to old methods of raising children which was somewhat disappointing.
Sugata Mitra
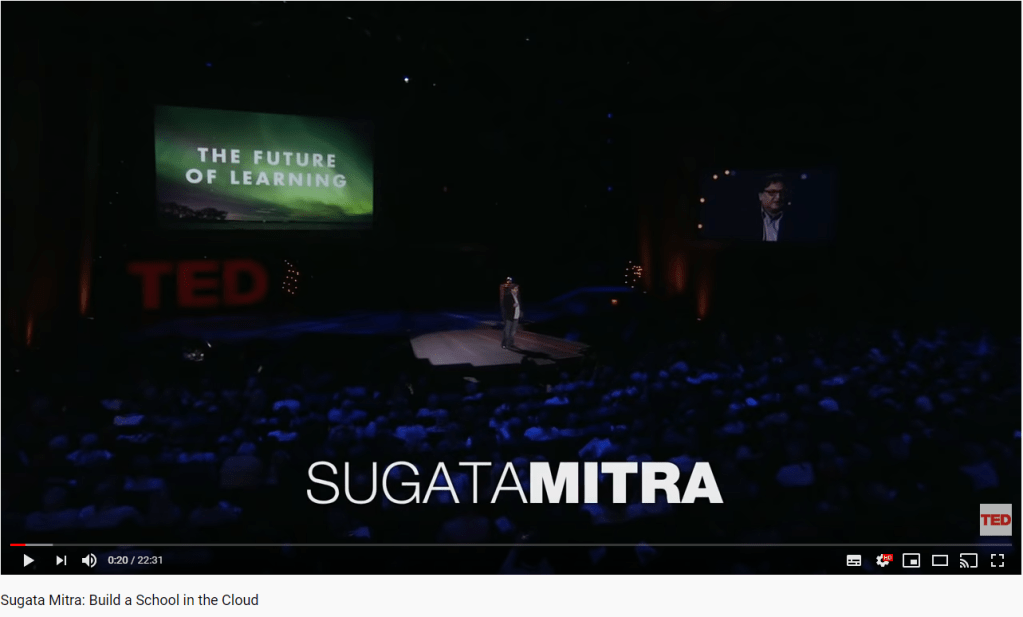
Sugata is an Indian technologist who did some research regarding informal learning approaches to uneducated children in slums that when provided a computer, would teach themselves sufficient English (their non-native language) to be able to play the games on the computer. He makes two quotes that resonated with me during his talk;

‘Encouragement is the key’
‘It is not about making it happen, it is about letting it happen’
These quotes, both about education, tell me that students are clearly able to provide themselves with the information they need to self educate. One of the challenges I forsee in standardised western education however is providing that encouragement to students in things that they do not wish to engage in. This is already present in the teaching of today, I feel that students that take a liking to maths or geography enjoy the class more and are more inclined to do the work to achieve. When the incentive is a game, I believe all students would reach a similar point. I do understand he raises a similar point regarding DNA replication but there is more evidence needed for me to fully understand the depth of the children’s education there.
TogsTale
This part of the blog is about ME. Mitchell Togher a currently 3rd Year Music Education Student studying at the Sydney Conservatorium of Music majoring in Performance, my main instrument being flute. I’m currently studying the ‘Music in Technology class under James Humberstone and have been tasked to provide weekly blogs on all the crazy things we learn. Feel free to dig through it all or comment/flick me a message! I’ve also included various TogsTasks throughout the blogs to share some bits or pieces extra special. A few Togs to keep an eye open for:

TogsTips – Handy hints I’ve learnt and would like to share!
TogsTeach – Me discussing a way its effective to teach a certain lesson or reflecting on its usefulness in a lesson
TogsTalk – A chance for me to reflect and discuss more personally about myself and what I’ve learnt
TogsTech
Part 2: The First Recordings
Welcome to the second part of my exploration into the exciting ways technology can be used in music education. This week will be a collection of different terms and processes which I didn’t know and that I wish to share with others so that it may become clearer for you!
XLR Cables:
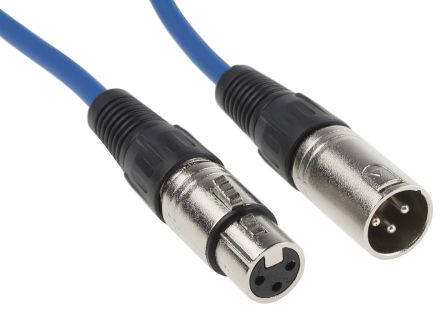
The XLR cable has three pins in it which allows the transmission of sound and electricity along the wire. This allows the sound from the microphone (or other sound source ) to be passed down to the mixer (or other receiving source)
Digital Interface Boxes

These boxes are used to transfer the sounds made by a microphone to be formatted and cleaned to a level where they can be used in a DAWS to make a nicer recording.
…jki
Dynamic Microphones
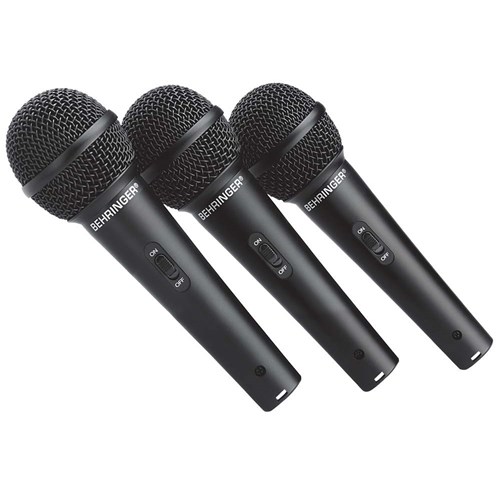
These microphones are used for single source points and capture more direct sounds, taking in less background noise. This is extremely useful in a classroom scenario as it will limit the impact of other students. Furthermore, these mics are quite durable (and can be relatively cheap).
Click here to listen to a podcast of my friends and I playing with looping an a dynamic microphone
Condenser Microphones
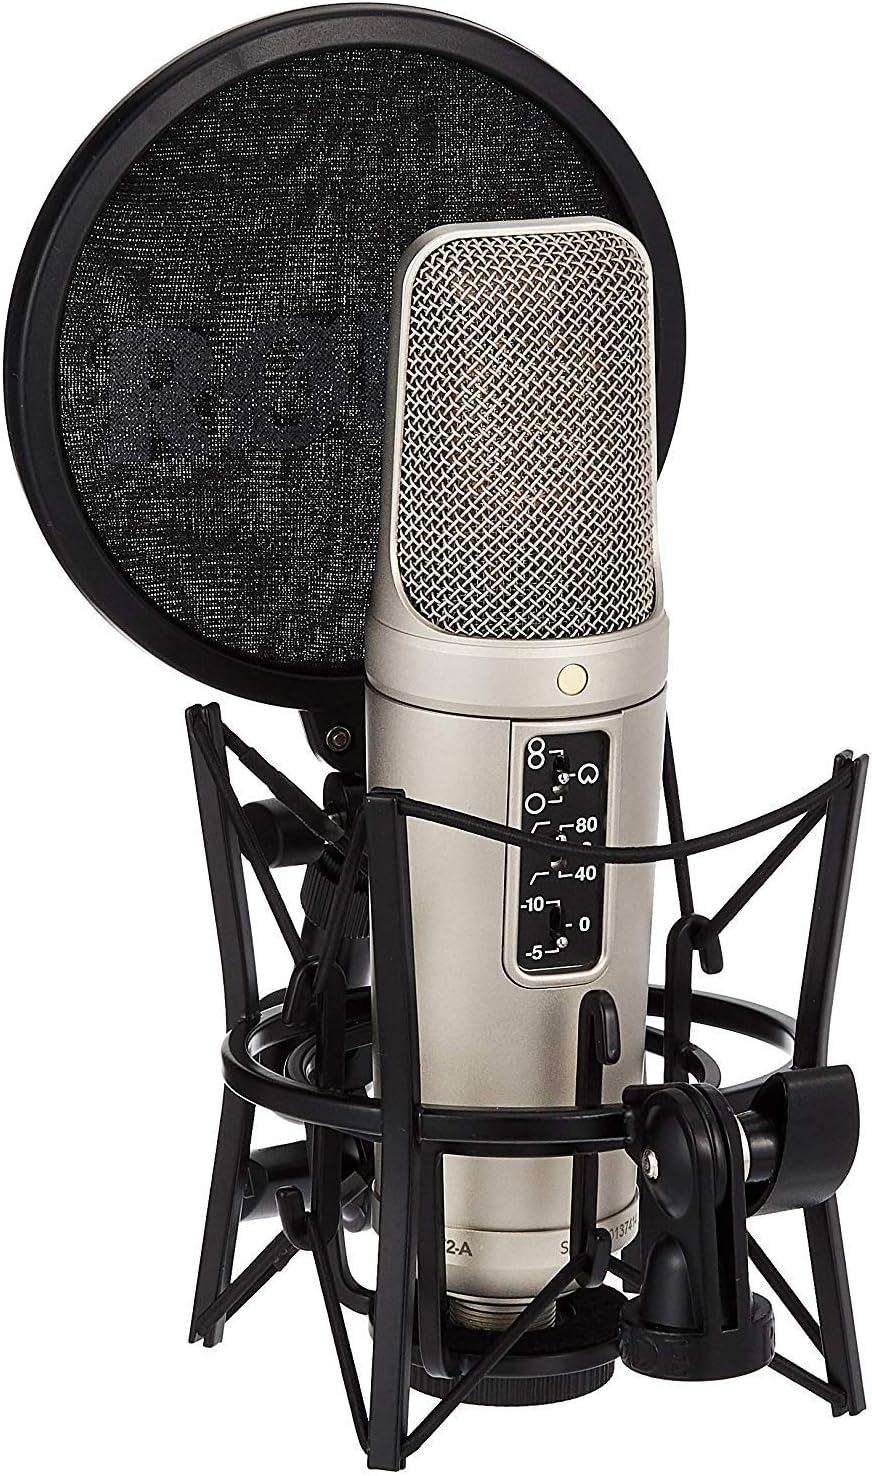

These microphones use a voltage that goes down the wire to turn it on (although are gradually being improved to use batteries nowadays). The are also much less durable than dynamic microphones and are more expensive to use, especially for a classroom budget. However, these microphones are more useful when recording stereo sounds. They take in much more sound, and as a result struggle to filter excess background sounds.
Stereo Instruments: Instruments that have more than one sound source.Not many do this as the sound only comes from one place, such as a brass or woodwind instrument.
For example: A Piano close is stereo (hear sounds from its full breadth of sound) but from a distance the instrument becomes a mono instrument (the sound only comes from the piano as a whole when you’re at the back of a theatre). Similarly, the voice is mono, but when reverb is added, it becomes stereo.
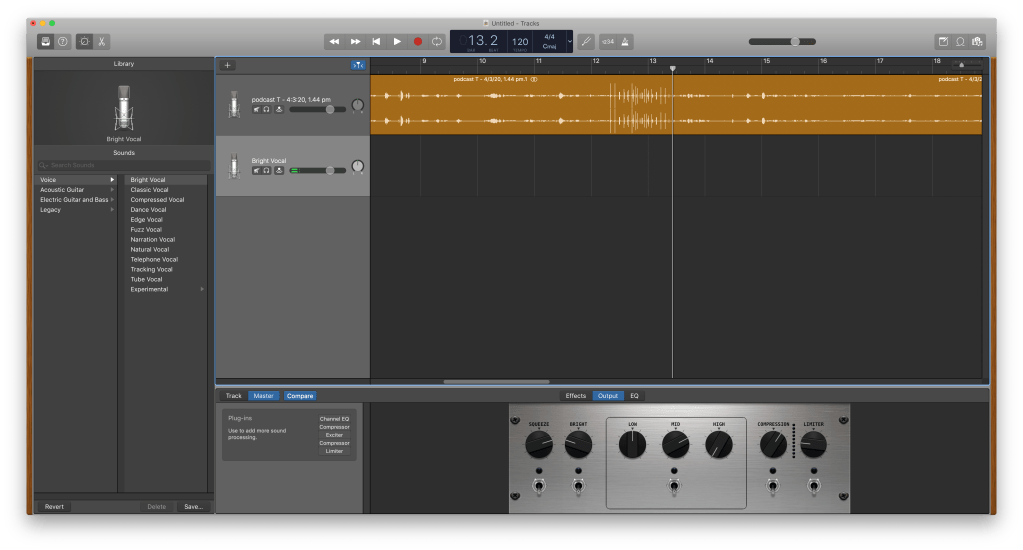
Tips:
Always soundcheck with loudest music
Don’t forget to check your input settings
Use presets to readjust the sound and put compression on your voice.
Change the gain in the box to change dynamic
Below are a couple of examples of me messing around with a few of these kinds of microphones.
TogsTips:
Did you know you can screenshot a window on mac by holding command + shift + 4 and then pressing spacebar!
TogsTech
Part 1: The Beginning
Welcome to the first post in my Music Technology Blog! I am a student at the Conservatorium of Music in Sydney, Australia and will be using this opportunity o share the adventure I’m going on through various aspects of Music Technology, and especially its relation to Music Education
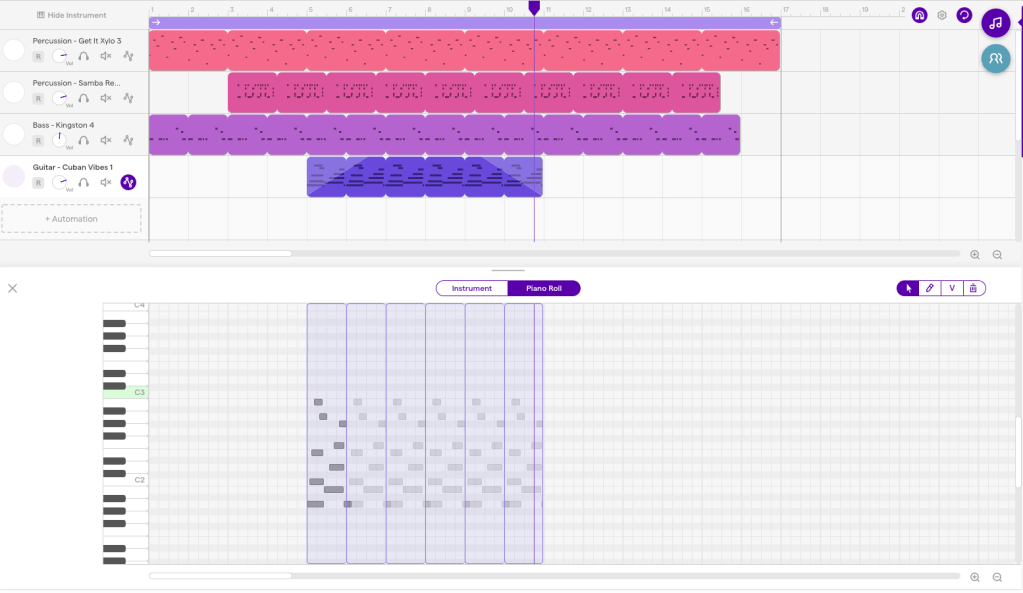
I am going into this adventure with very minimal knowledge of the various formats in which Music and Technology can be associated with another, and further confused about how to infuse this combination with a classroom environment. We began this weeks expedition into the pedagogical use of the program, Soundtrap.
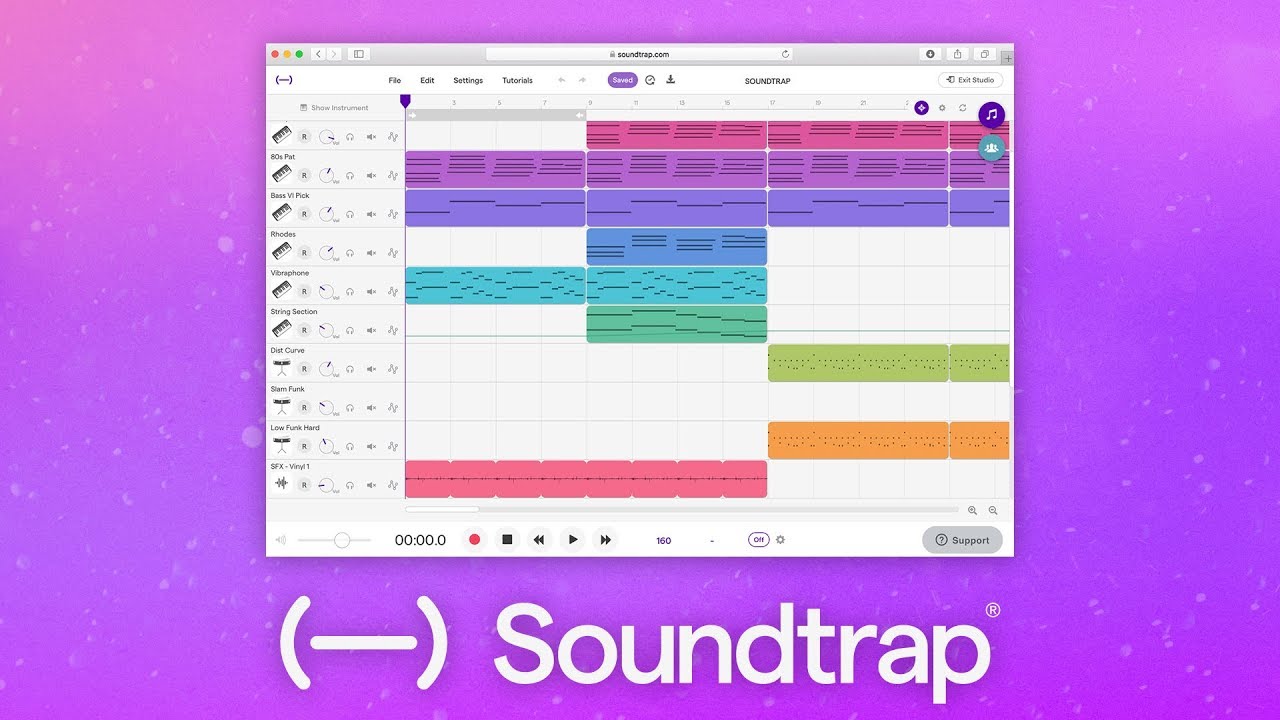
This was a really interesting site that allows students to explore the 6 Concepts of Music on their own through various form of experimentation and tinkering.
Below is an example of how my own piece began to come along. It consisted of discovering sounds and loops that I enjoyed, and progressing to expand the musicality to produce a song. Quickly discovering some of the other aspects present in the image below, I soon realised how I myself was adjusting the piece and exploring the concepts of music on my own. For example, in the fourth loop I added a fade in, and out on the Cuban Vibes Guitar part, which my experimentation with dynamic variation. Furthermore, the staggered starting of the parts was a look into textural and timbre diversity, seeking different combinations of sounds.
This was a really fascinating process to expose myself to, and was a great first step in my music technology journey. I also learnt from my lecturer, James Humberstone (view his blog here) about a few of the following terms that I may mention over the next series of blogs:
Audio = Refers only to the sound that has been recorded
MIDI = Refers to the computer language about notes. It has the ability to be edited note by note and you’re not limited to the sound you recorded it on, meaning you can transfer it into music notation much more easily
Sequencer = Allows you to input and rearrange MIDI within the program
DAWS (Digital Audio Workstation) = Allows you to input and rearrange audio files.
